
![[How To] Best Dedicated Server: Choose The Best Dedicated Server For Less](https://easypromocode.com/wp-content/uploads/2020/05/dedicated_server-2-100x65.jpg)


Main Contents
Sentora is a similar system management to Cpanel VPS but This is open source and completely free. Use Sentora help you use the VPS is easy, intuitive.

After Zpanel sold to HostWinds has not been updated regularly and hides a lot of errors. Sentora built from the developers of Zpanel and it is updated regularly and continuously. So you should not use anymore Zpanel replace with Sentora Control Panel .
The main features of Sentora
- Supports multiple users
- Ability to create Reseller Account
- Support to manage the number of domain name of each account, manage bandwidth, storage, mail box
- Lets change the look, brand name
Sentora automatically installed:
- Apache HTTPd
- PHP
- ProFTPd
- MySQL/MariaDB
- Postfix
- Dovecot
These are all necessary applications required almost each VPS to work. Also if you want more functionality, you can install the module was introduced on Sentora community forum .
**On CentOS 6.x, Sentora will install PHP 5.3.
**If you want to use PHP 5.4, use CentOS 7 and PHP 5.5, use Ubuntu 14:04.
Install Sentora
To install Sentora you need to prepare a brand new VPS. Sentora installation support on CentOS 6, CentOS 7, Ubuntu and Ubuntu 14:04 12:04. You can buy VPS at GoDaddy,HostGator,1and1 …
Next, prepare a domain name (You can buy domain .com at 1and1 only $1 click to this link) to run email service and a subdomain has been pointing to the IP of VPS for management Sentora page.
Start installing Sentora with the following command:
bash <(curl -L -Ss http://sentora.org/install)If VPS is pre-installed Apache server or bind will get an error message similar to below:
############################################################
# Welcome to the Official Sentora Installer 1.0.3 #
############################################################

Checking that minimal requirements are ok
Detected : CentOs 6 x86_64
Ok.
DB server will be mySQL
It appears that package httpd is already installed. This installer
is designed to install and configure Sentora on a clean OS installation only!

Please re-install your OS before attempting to install using this script.
Now let’s go to the command to remove yum remove -y httpd bindand then re-run the install command above.
1. Select TimeZone
This is the first step, you enter the turn of the 5, 49, 1
Please identify a location so that time zone rules can be set correctly.
Please select a continent or ocean.
 1) Africa
 2) Americas
 3) Antarctica
 4) Arctic Ocean
 5) Asia
 6) Atlantic Ocean
 7) Australia
 8) Europe
 9) Indian Ocean
10) Pacific Ocean
11) none - I want to specify the time zone using the Posix TZ format.
#? 5
Please select a country.
 1) Afghanistan 18) Israel 35) Palestine
 2) Armenia 19) Japan 36) Philippines
 3) Azerbaijan 20) Jordan 37) Qatar
 4) Bahrain 21) Kazakhstan 38) Russia
 5) Bangladesh 22) Korea (North) 39) Saudi Arabia
 6) Bhutan 23) Korea (South) 40) Singapore
 7) Brunei 24) Kuwait 41) Sri Lanka
 8) Cambodia 25) Kyrgyzstan 42) Syria
 9) China 26) Laos 43) Taiwan
10) Cyprus 27) Lebanon 44) Tajikistan
11) East Timor 28) Macau 45) Thailand
12) Georgia 29) Malaysia 46) Turkmenistan
13) Hong Kong 30) Mongolia 47) United Arab Emirates
14) India 31) Myanmar (Burma) 48) Uzbekistan
15) Indonesia 32) Nepal 49) Vietnam
16) Iran 33) Oman 50) Yemen
17) Iraq 34) Pakistan
#? 49

The following information has been given:

 HongKong

Therefore TZ='HongKong' will be used.
Local time is now: Wed Aug 26 16:19:25 ICT 2015.
Universal Time is now: Wed Aug 26 09:19:25 UTC 2015.
Is the above information OK?
1) Yes
2) No
#? 1
2. Sentora subdomain
Next select the subdomain to manage Sentora, eg panel.yourdomain.com
=== Informations required to build your server ===
The installer requires 2 pieces of information:
 1) the sub-domain that you want to use to access Sentora panel,
 - do not use your main domain (like domain.com)
 - use a sub-domain, e.g panel.domain.com
 - or use the server hostname, e.g server1.domain.com
 - DNS must already be configured and pointing to the server IP
 for this sub-domain
 2) The public IP of the server.


Enter the sub-domain you want to access Sentora panel: panel.yourdomain.com
3. Server IP
Check the server’s public IP is spelled correctly (usually standard) and then press Enter to continue
Enter (or confirm) the public IP for this server: 123.45.78.19
4. Confirm
If you encounter any public notice WARNING in this step, Sentora can not work. Often, the error message is not pointing to IP subdomain, and you point your IP again and run the command to install from scratch.
Enter y to begin the installation process:
All is ok. Do you want to install Sentora now (y/n)? y
After installation is complete you will receive information zadmin password, MySQL password, proftpd password, password RoundCube … Complete information is also stored in the file /root/passwords.txt
########################################################
 Congratulations Sentora has now been installed on your
 server. Please review the log file left in /root/ for
 any errors encountered during installation.

 Login to Sentora at http://panel.hocvps.com
 Sentora Username: zadmin
 Sentora Password: m5tO8sazRsas1212A

 MySQL Root Password : vn1BrDsasasas12
 MySQL Postfix Password : rQS5sasWSgWsasax
 MySQL ProFTPd Password : BQ12PYsasasajEYbhsasXL
 MySQL Roundcube Password : sasa121cdf3441423
 (theses passwords are saved in /root/passwords.txt)
########################################################
Enter y to restart next server
Restart your server now to complete the install (y/n)? y
Use Sentora
After restarting the server, you can access the subdomains used in the previous step to enter management page Sentora. Login interface will be as follows:
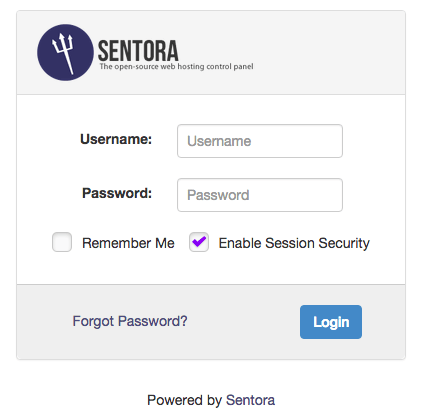
The default username is zadmin, your password displayed after installation is completed in the step above. Stage management is still very similar Sentora Zpanel
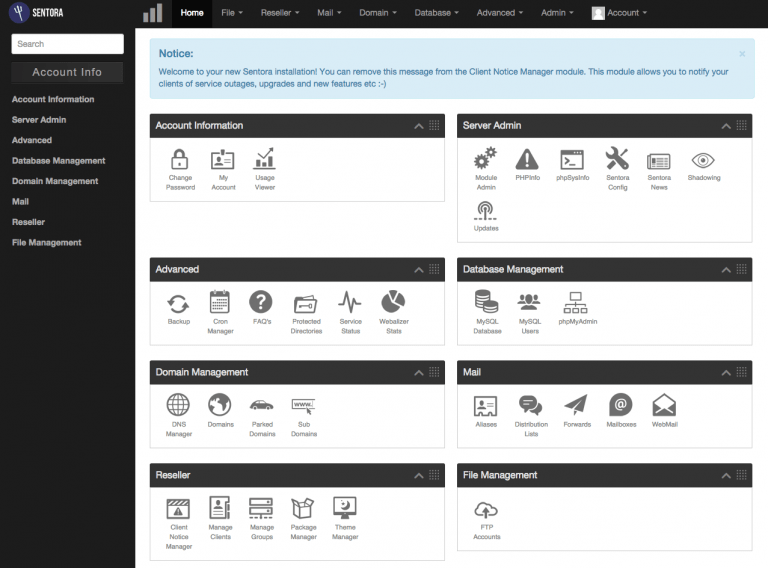
Now create the client and start using Sentora !! Good luck to you !!!